A Fundraising Campaign is a comprehensive tool designed to manage and track various fundraising activities. This feature allows you to create a central hub, where you can link different fundraising activities such as silent auctions, raffles, events, product sales, sponsorships and direct donations.
When the fundraising campaign is promoted, your guests can view the campaign, understand its purpose, and engage with various fundraising activities—all in one place. This includes purchasing event tickets or products, participating in auctions, buying raffle tickets, or making direct donations.
As the organizer, you get a real-time overview of the campaign’s performance, as the campaign will track the number of views, measure the funds raised, and see the progress towards your fundraising goal. You’ll even see a breakdown of funds raised by activity type – an invaluable insight for strategizing and optimizing future campaigns!
Watch our Fundraising Campaign promotion video.
You can start by creating individual fundraising activities such as a silent auction, a raffle, or an event, and then link these to a new or existing fundraising campaign at any time. This approach is ideal if you prefer to develop and manage activities before formalizing the overall campaign.
Alternatively, you can begin by setting up a fundraising campaign and then add and create new fundraising activities directly within the campaign. This method is useful if you want to establish the overarching campaign framework first and then incrementally add activities.
Regardless of the approach you choose, you can continuously add new fundraising activities to your campaign, ensuring flexibility and adaptability in your planning. Both the campaign and its associated activities can be updated and managed in real-time, allowing you to tailor the fundraising process to your specific needs and timeline.
There is no limitation on how many activities you can link to a fundraising campaign; however, it’s important to note that a silent auction, raffle, event, or sponsorship must be exclusive to a single campaign; they cannot be linked to multiple campaigns simultaneously. In contrast, products and donation items are flexible and can be linked to several campaigns (simultaneously or across time).
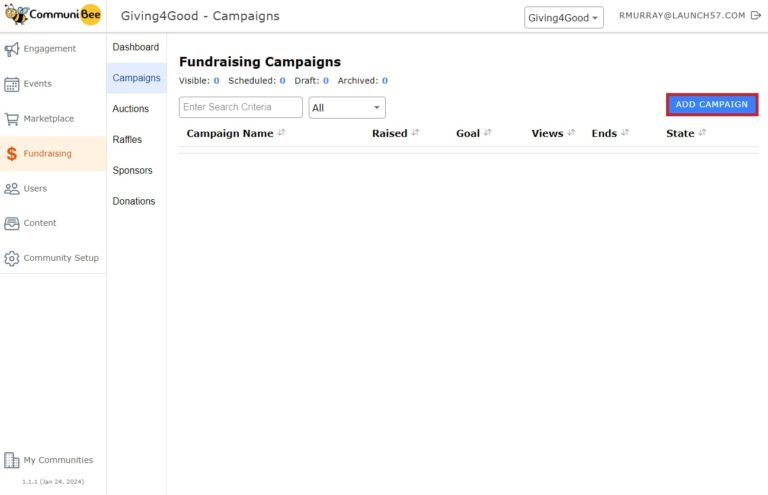
From the Fundraising menu option, select the Campaigns tab. From here, a list of your existing fundraising campaigns will appear. By default, the list will be filtered to All campaigns (in either a Visible, Scheduled, Draft or Archived state), but this can be filtered further, as desired.
To start setting up a campaign, click on the Add Campaign button.
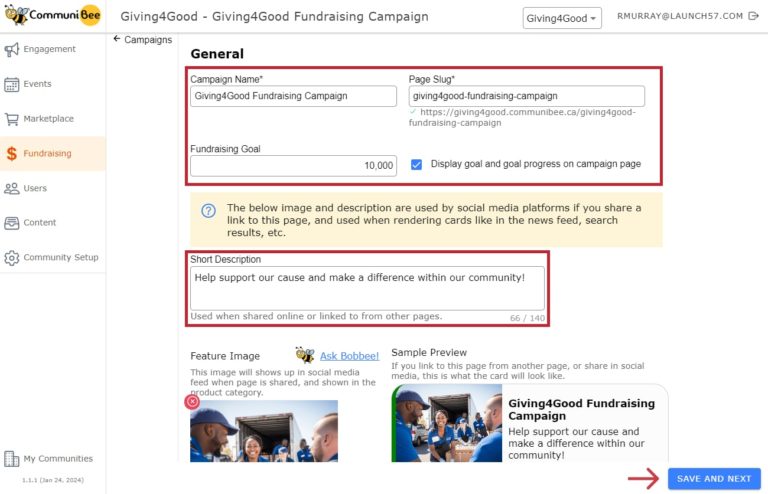
Following the same steps to setting up a page in CommuniBee, begin by filling out the fields below.
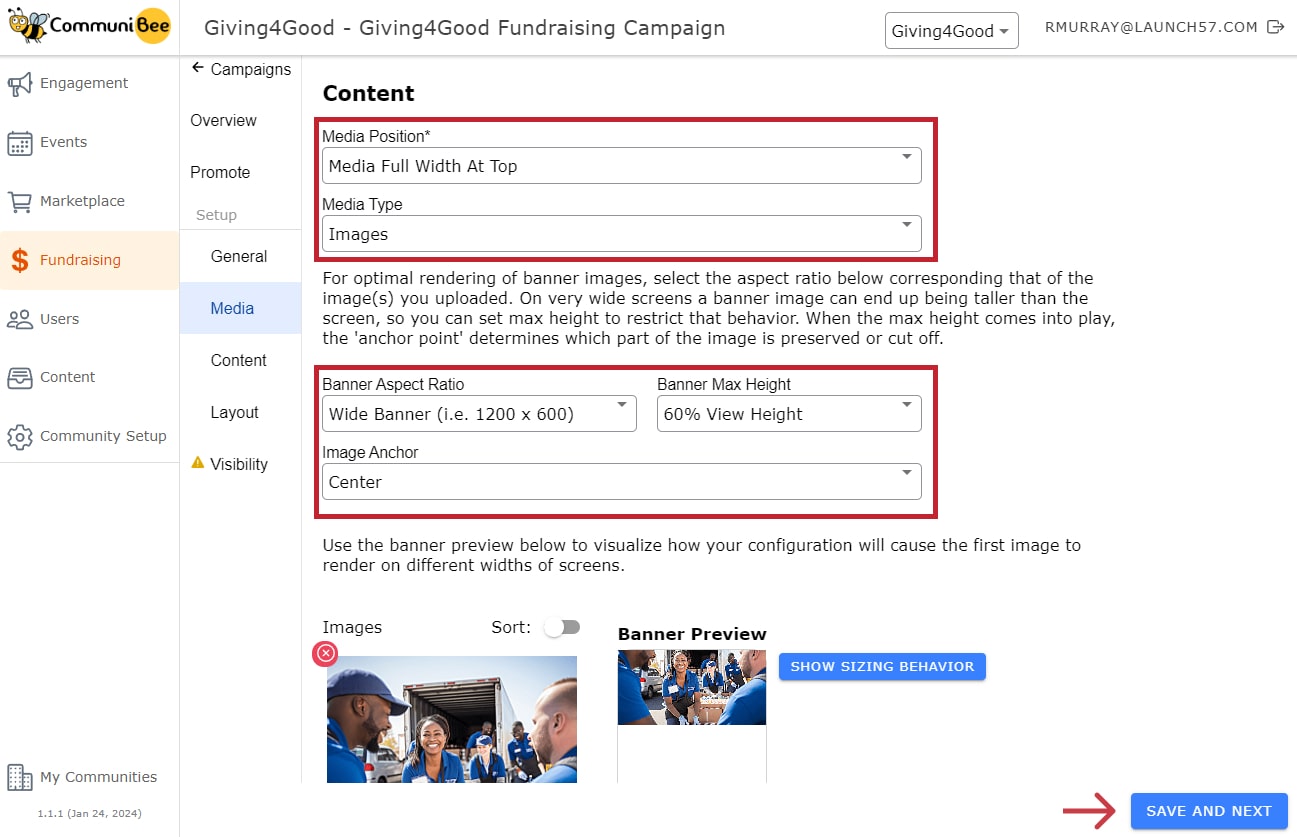
This section is all about the design of the campaign’s web page. You can upload images or link to a video that act as the banner for this page. The appearance of your banner can then be configured to create a truly stunning landing page for each of your fundraising activities.
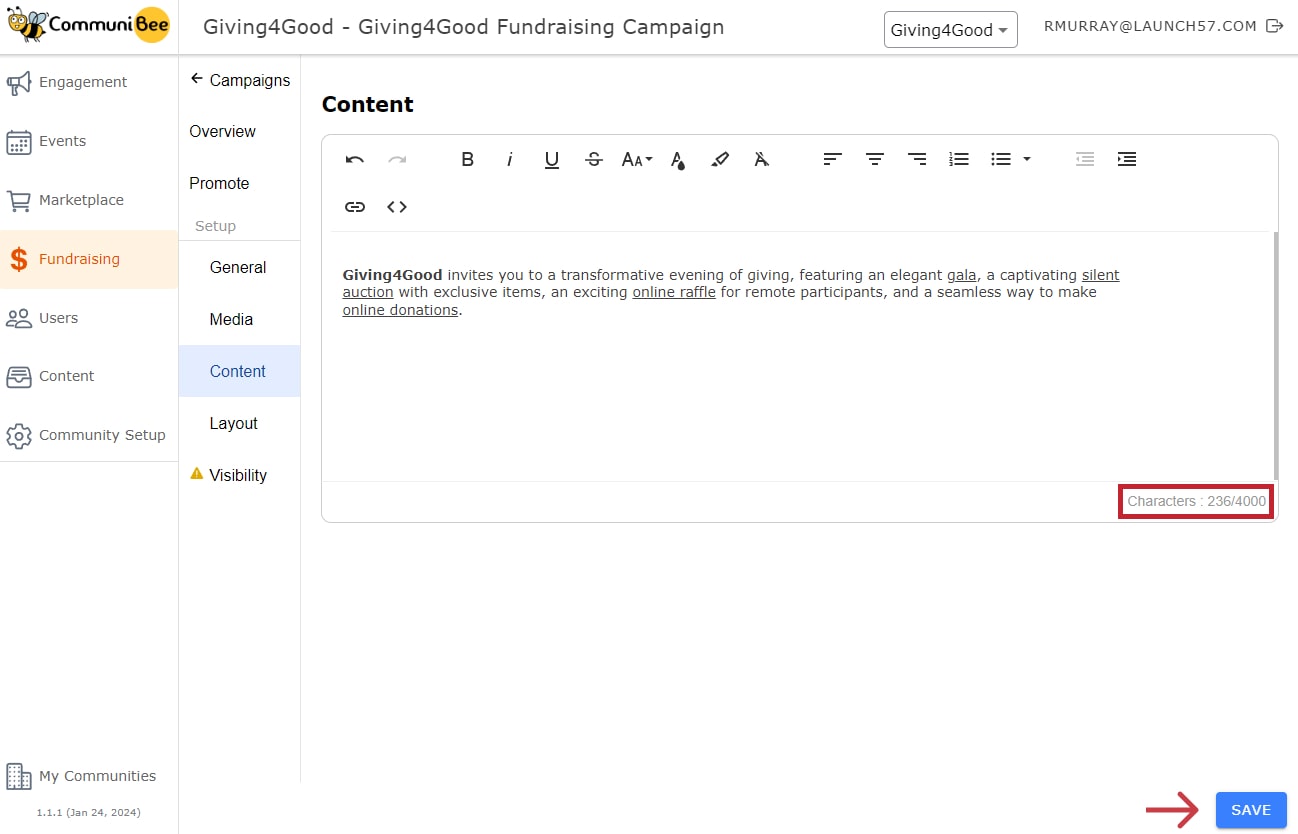
Add additional details about the campaign so your audience fully understands what the fundraiser is all about. Please be aware that there is a 4,000 character limit for this text field. If left blank, we present the Short Description that was entered on the General tab.
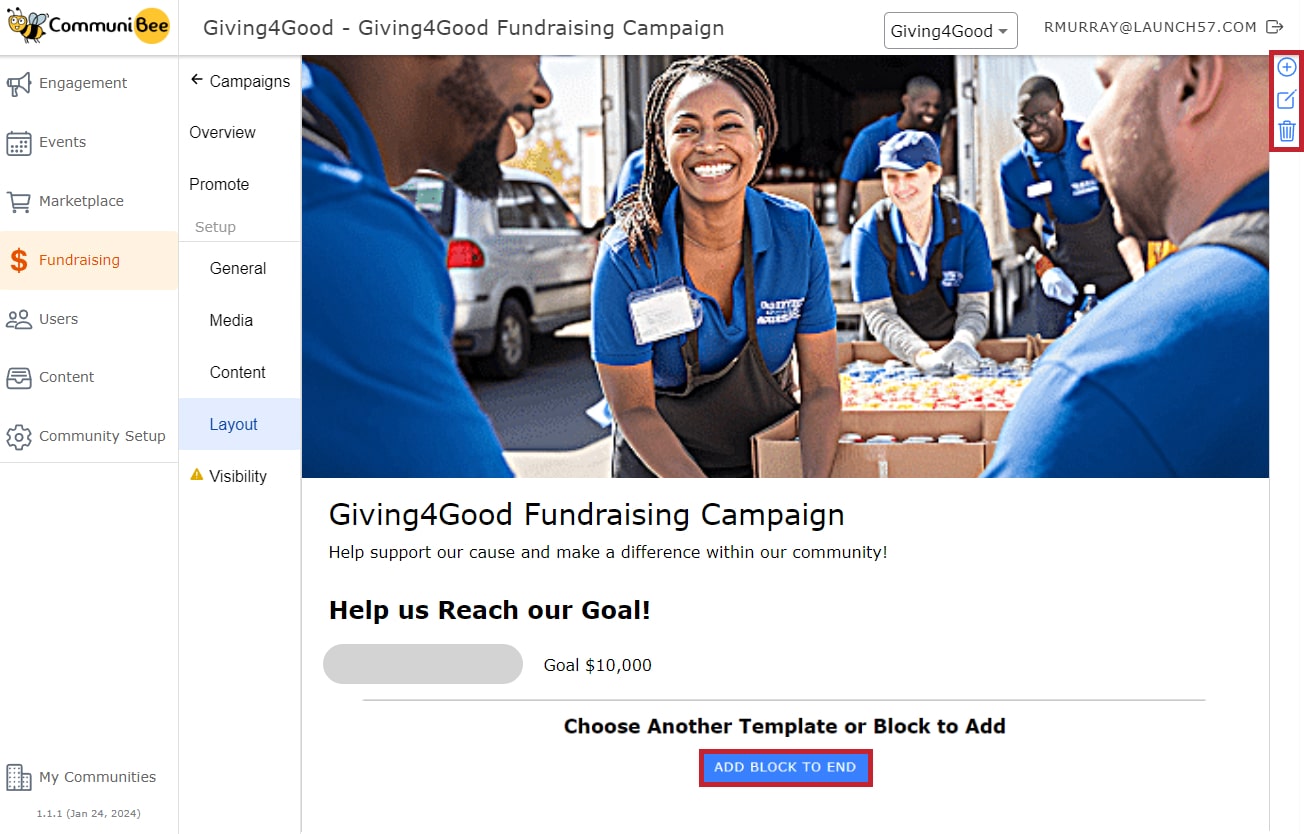
Not only can you preview your campaign from this tab, but you can also make additional changes to the overall page layout.
To build on this page and add additional sections, follow the steps below:
To rearrange a block, use your mouse and hold left click on it, then drag the block above or below another block. Let go of left click to set the block in place. Learn more about the available page blocks.
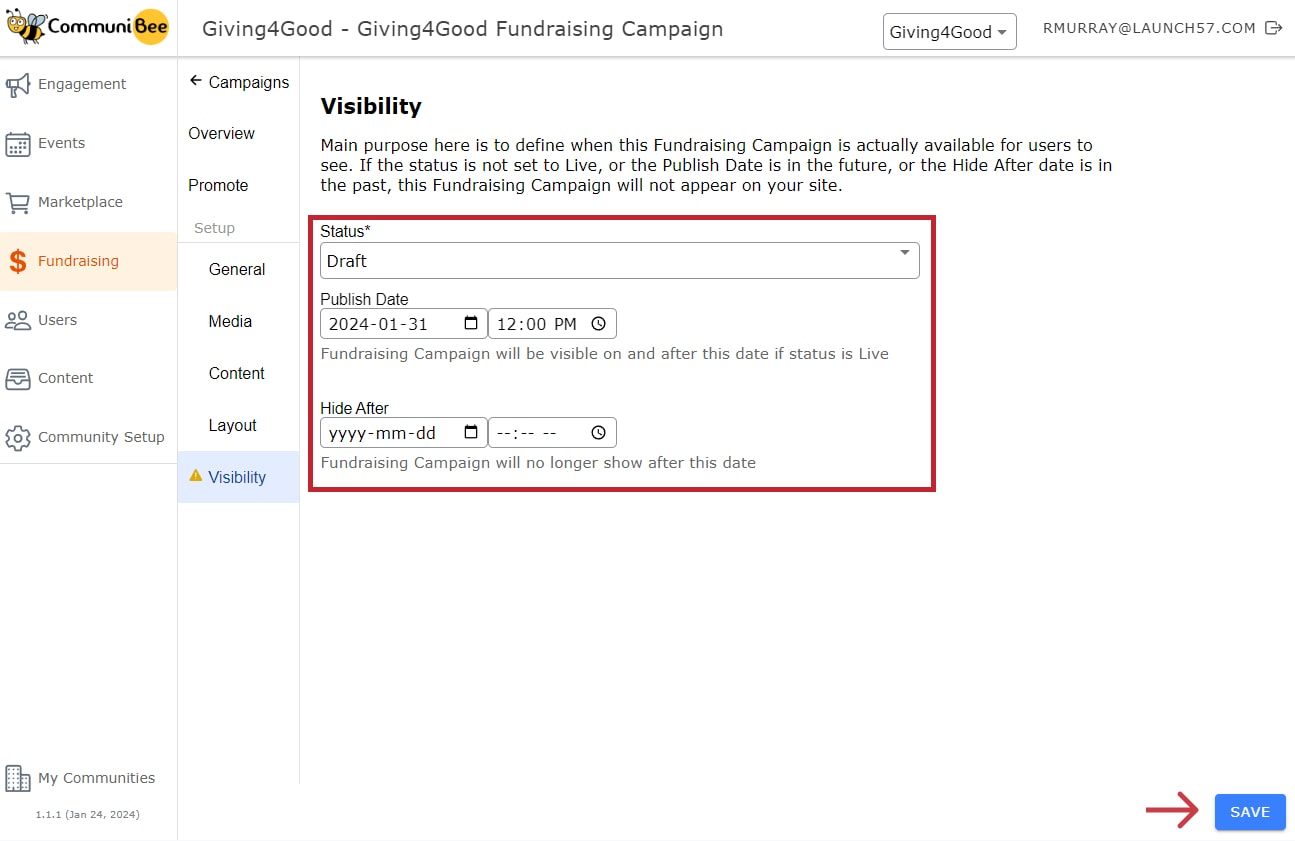
With your page fully designed and ready to share to your audience, the Visibility tab is where you make the page visible.
Status
At any time, you can manually update the status of this page. You can also schedule a Publish Date to have this page become visible at a specific date and time. Be sure to switch the status of the page to Live before entering a Publish Date. If you include a Hide After date, this page will automatically switch from Live to Archived at the specified date and time.
Once your fundraising campaign is created, you can start linking fundraising activities to the campaign (even if the campaign has a Draft status). If you have existing fundraising activities, you can link them to the campaign from the specific activities Visibility page. If you need to first create the activities, you can initiate creating each item from the fundraising campaign’s Overview page, which will automatically link them to the campaign.

CommuniBee does not display active communities right now. If you are looking to view a specific community, you will need the community’s website URL.
Be sure to check your email to see if you received an invitation to the community; otherwise, you should contact a community admin for access.
Still stuck? Email us at support@communibee.ca