
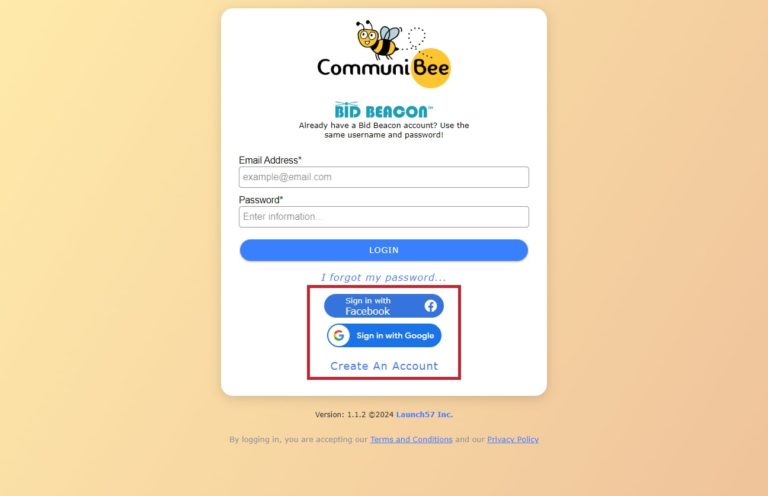
Signing up with CommuniBee is the first step towards accessing a comprehensive suite of community management tools. Get started by signing in or creating a CommuniBee account. If you have an existing Bid Beacon account, you can use those credentials here too.
Utilize Facebook or Google for an expedited sign-in experience, or select Create An Account and enter the details below:
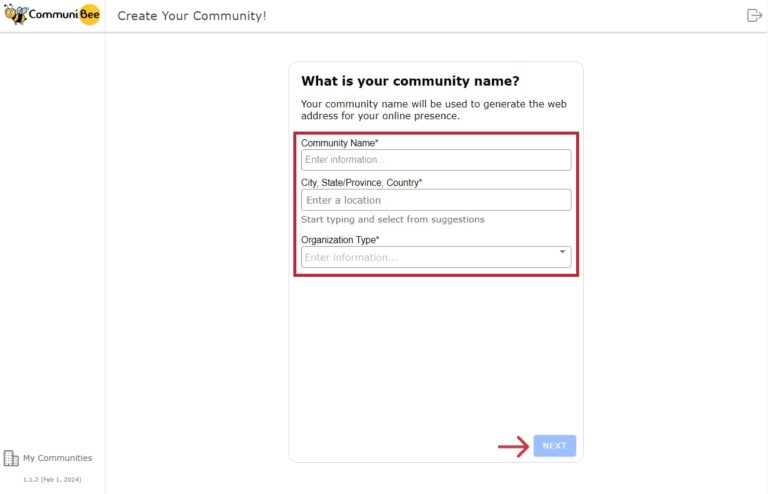
Once logged in, it’s time to define your community by entering a few key details:
The next step is to select a template for your community. Our collection of templates, designed to serve as a starting point, reflects a range of organizational types and demonstrates CommuniBee’s versatile features. Following your organization type selection, we’ll recommend a template that aligns with your needs. You’re free to Preview templates before deciding, ensuring you choose one that truly resonates with your vision.
When you find your preferred template, hit Next to copy its content and structure into your community. This process imports sample content, which you can customize or replace with your own to quickly get started.
If none of the templates match your preference, choose Start from scratch to begin with a clean slate.

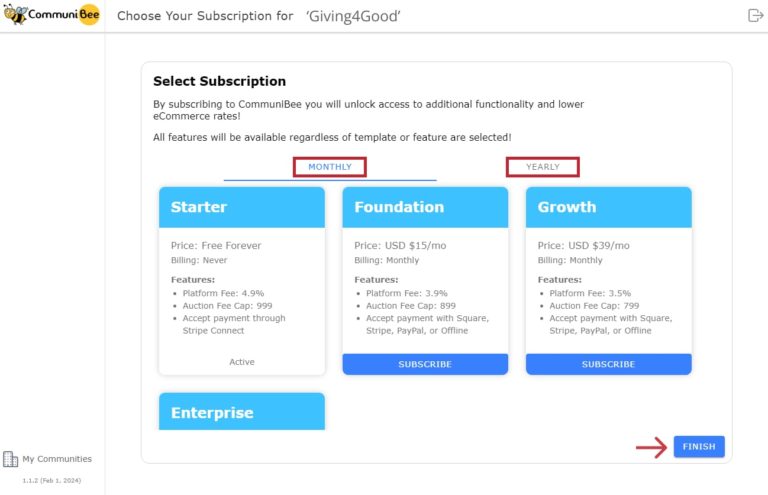
After selecting a template or opting to start from scratch, you’ll have the opportunity to subscribe to CommuniBee. You can subscribe immediately or choose Finish to decide later. Don’t worry, you don’t need a subscription to access the many great features CommuniBee has to offer.
Next, you’ll be directed to the Engagement tab. If you’ve chosen a template, you can view your brand new CommuniBee site through the View Site option to see the initial setup.
Tip: When making changes in your Management Dashboard, regularly preview changes in your CommuniBee site.
To continue setting up the rest of your community, click on the Community Setup tab from the left side menu.

Now that your community is created, you can start entering in additional details and customizing your community settings. From the Community Setup menu option, click on the Organization tab.
From here, you can enter the remaining fields:
Fields like Organization Name and Contact Name are filled from your registration information but are editable anytime. These details can be integrated into your site’s customizable footer for easy access by your guests. To quickly view your CommuniBee site, click Visit Site.
Archive Community: If needed, you can delete your community from the Advanced section. Click on Show and then Archive Community. Ensure there are no pending orders or outstanding amounts in your Community’s Billing History before doing so. Remember, deleting your community is permanent and should only be considered if you no longer need the community.

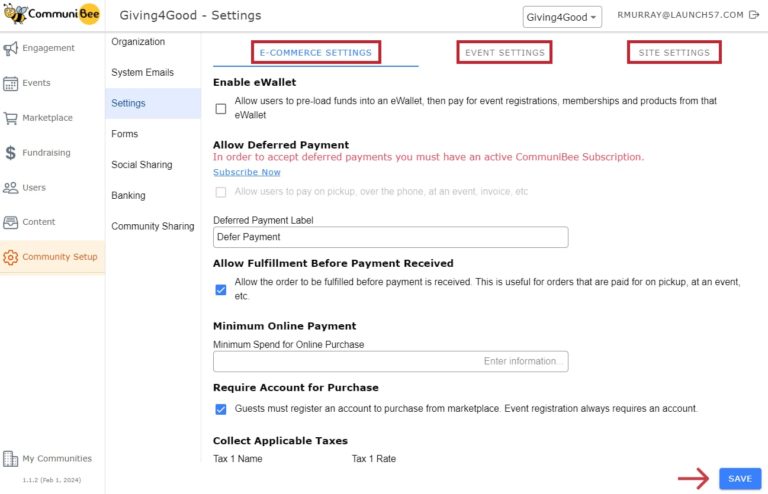
Adjust your community’s settings, organized by area to streamline management across e-commerce, events, site options, and news notifications.
Optimize how transactions occur within your community with these settings:
Keep your guests informed by allowing them to opt into receiving email and SMS news notifications from your community. Enabled by default, notifications can be sent on a per news-item basis. If disabled, you will not have the ability to send news notifications.
If enabled, use the Customize Opt-In Button Label field to personalize the button text that your guests will see on your News Home page and the pages for all your individual news items. Guests will also be able to opt in and out of receiving these notifications from their profile. Keep in mind that there is a 30-character limit for the button text.
Admins will also be able to quickly see opt-in preferences of their guests by navigating to the Users menu option in the management dashboard. The table on this page breaks down the opt-in status for both email and SMS preferences which is also included in the table’s export.
For communities that plan on using these notifications to communicate with guests, be sure to check out our guide on creating and managing news.
Tip: Periodically revisit these settings to ensure they align with your community’s evolving needs.
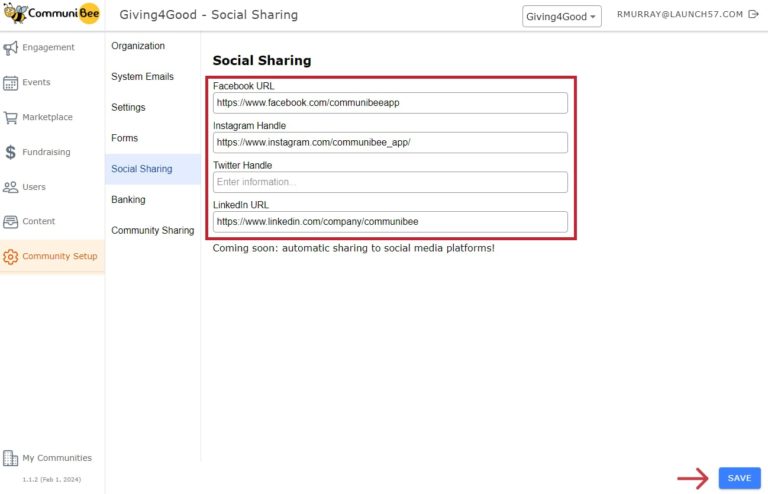
Enhance your organization’s online presence by linking your social media accounts directly through CommuniBee. This functionality supports connections to Facebook, Instagram, Twitter, and LinkedIn. Once linked, you have the option to display the corresponding social media icons both in your website’s footer and within the email campaigns you distribute. This seamless integration not only elevates your social media visibility but also encourages your community to engage with your organization across multiple platforms.
To enable online payment collection in your community for marketplace sales, event ticket sales, and donations, set up Express Banking through Stripe Connect. This service processes the transactions and directly deposits earnings into your bank account, with CommuniBee’s platform fee of 4.9% and Stripe’s processing fees automatically deducted from each transaction.
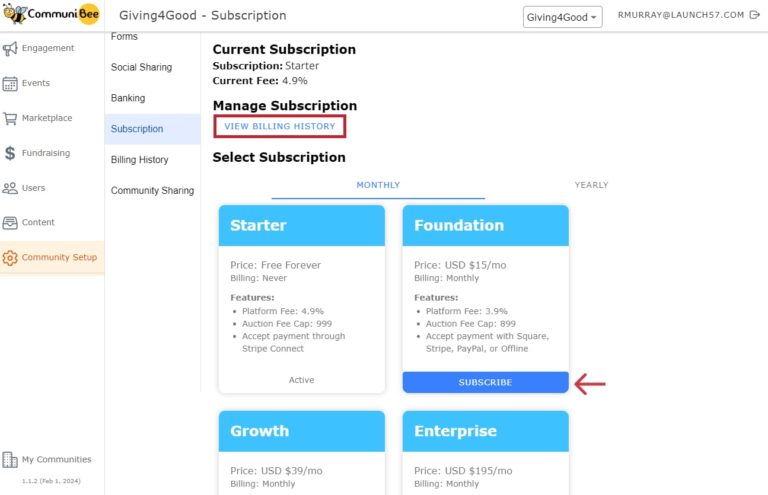
A subscription to CommuniBee offers significant advantages:
*Note: The auction platform fee cap limits the maximum platform fees charged for a single auction, ensuring cost predictability for your events. The reduced platform fee from your active subscription extends to transactions conducted via Bid Beacon and Raffle Rocket, aligning fees across services.
No credit card information is passed through or stored on our servers. Electronic payments through CommuniBee are supported by the following PCI compliant providers: Stripe, Square, and PayPal.
Explore subscription plans by clicking Subscribe Now or visiting the Subscription tab to understand how you can benefit from reduced fees and additional payment methods.
Easily manage your community’s subscription to CommuniBee via the Subscription tab. Here, you can view details of your active subscription, such as the tier, platform fee, expiry date, and renewal period (monthly or annually). Adjustments to your subscription, including upgrades, downgrades, or cancellations, can be made anytime to suit your community’s needs. Downgrading or canceling retains your benefits until the end of the current billing cycle, while upgrading grants immediate access to the new plan’s benefits.
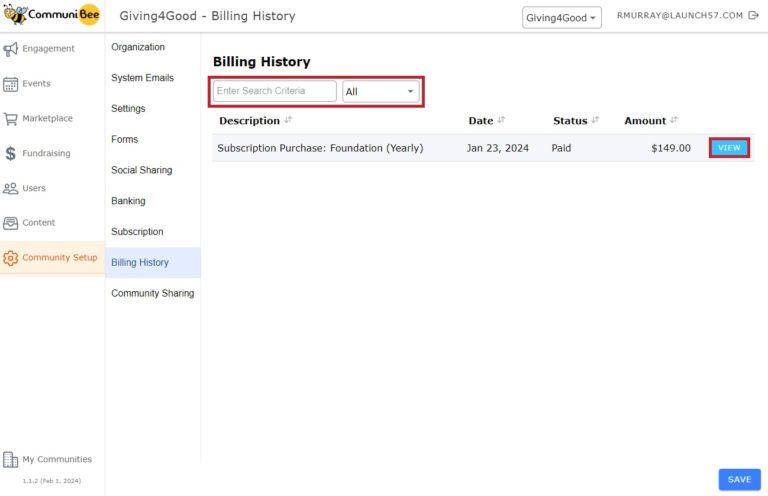
This section provides a comprehensive record of your community’s billing activities, including:
Billing History Table: Displays each transaction’s description, date, status, and amount. Use the View button for detailed bill information and to download invoices or receipts.
Filtering: Search or use the dropdown to filter by status for easier navigation.
Billing statuses include:

CommuniBee does not display active communities right now. If you are looking to view a specific community, you will need the community’s website URL.
Be sure to check your email to see if you received an invitation to the community; otherwise, you should contact a community admin for access.
Still stuck? Email us at support@communibee.ca
